Knitting Cables
Knitting cables can be a challenge for any knitter; cables are a daunting prospect and look more complicated than they really are. Essentially, cables are created by knitting your stitches out of turn with the help of a cable needle. Often, cables are knitted on a background of reverse stocking stitch to help the cables to stand out and to add definition.
Cable Needles
Cable needles (cn) are short, double pointed needles which are used to hold some stitches when knitting a cable. If you don’t have a cable needle in the size that you need, a double pointed needle of any length will do.
Moving stitches to your Cable Needle
When moving your stitches to the cable needle it is important not to twist your stitches. You might be familiar with the term ‘slip 1 knitwise’ or ‘slip 1 purlwise’, this is not the same as transferring stitches and the technique needed here is slightly different.
Holding your cable needle in your right hand, insert the cn into the first stitch, slide the stitch onto the cn and withdraw your knitting needle. Your first stitch is now transferred. If you have more stitches to add to the cn repeat the first step until you have the required number of stitches on your cn. At this stage, you will hold your cable needle to the back or front of your work making sure not to twist the stitches or to allow any stitches to fall from the cable needle.
Holding in front or behind
Holding the stitches on a cable needle holds them out of the way while you work on the other stitches of the cable but it also determines the shape of your cable. Holding in front of the work will mean that those stitches worked from the cable needle will stand out at the front of your work. Holding the stitches at the back of your work will make those stitches pull to the back of the work meaning that your other stitches will stand out at the front.
Working cables together
A single cable will create an effect of moving your stitches; working cables together will create more intricate patterns.
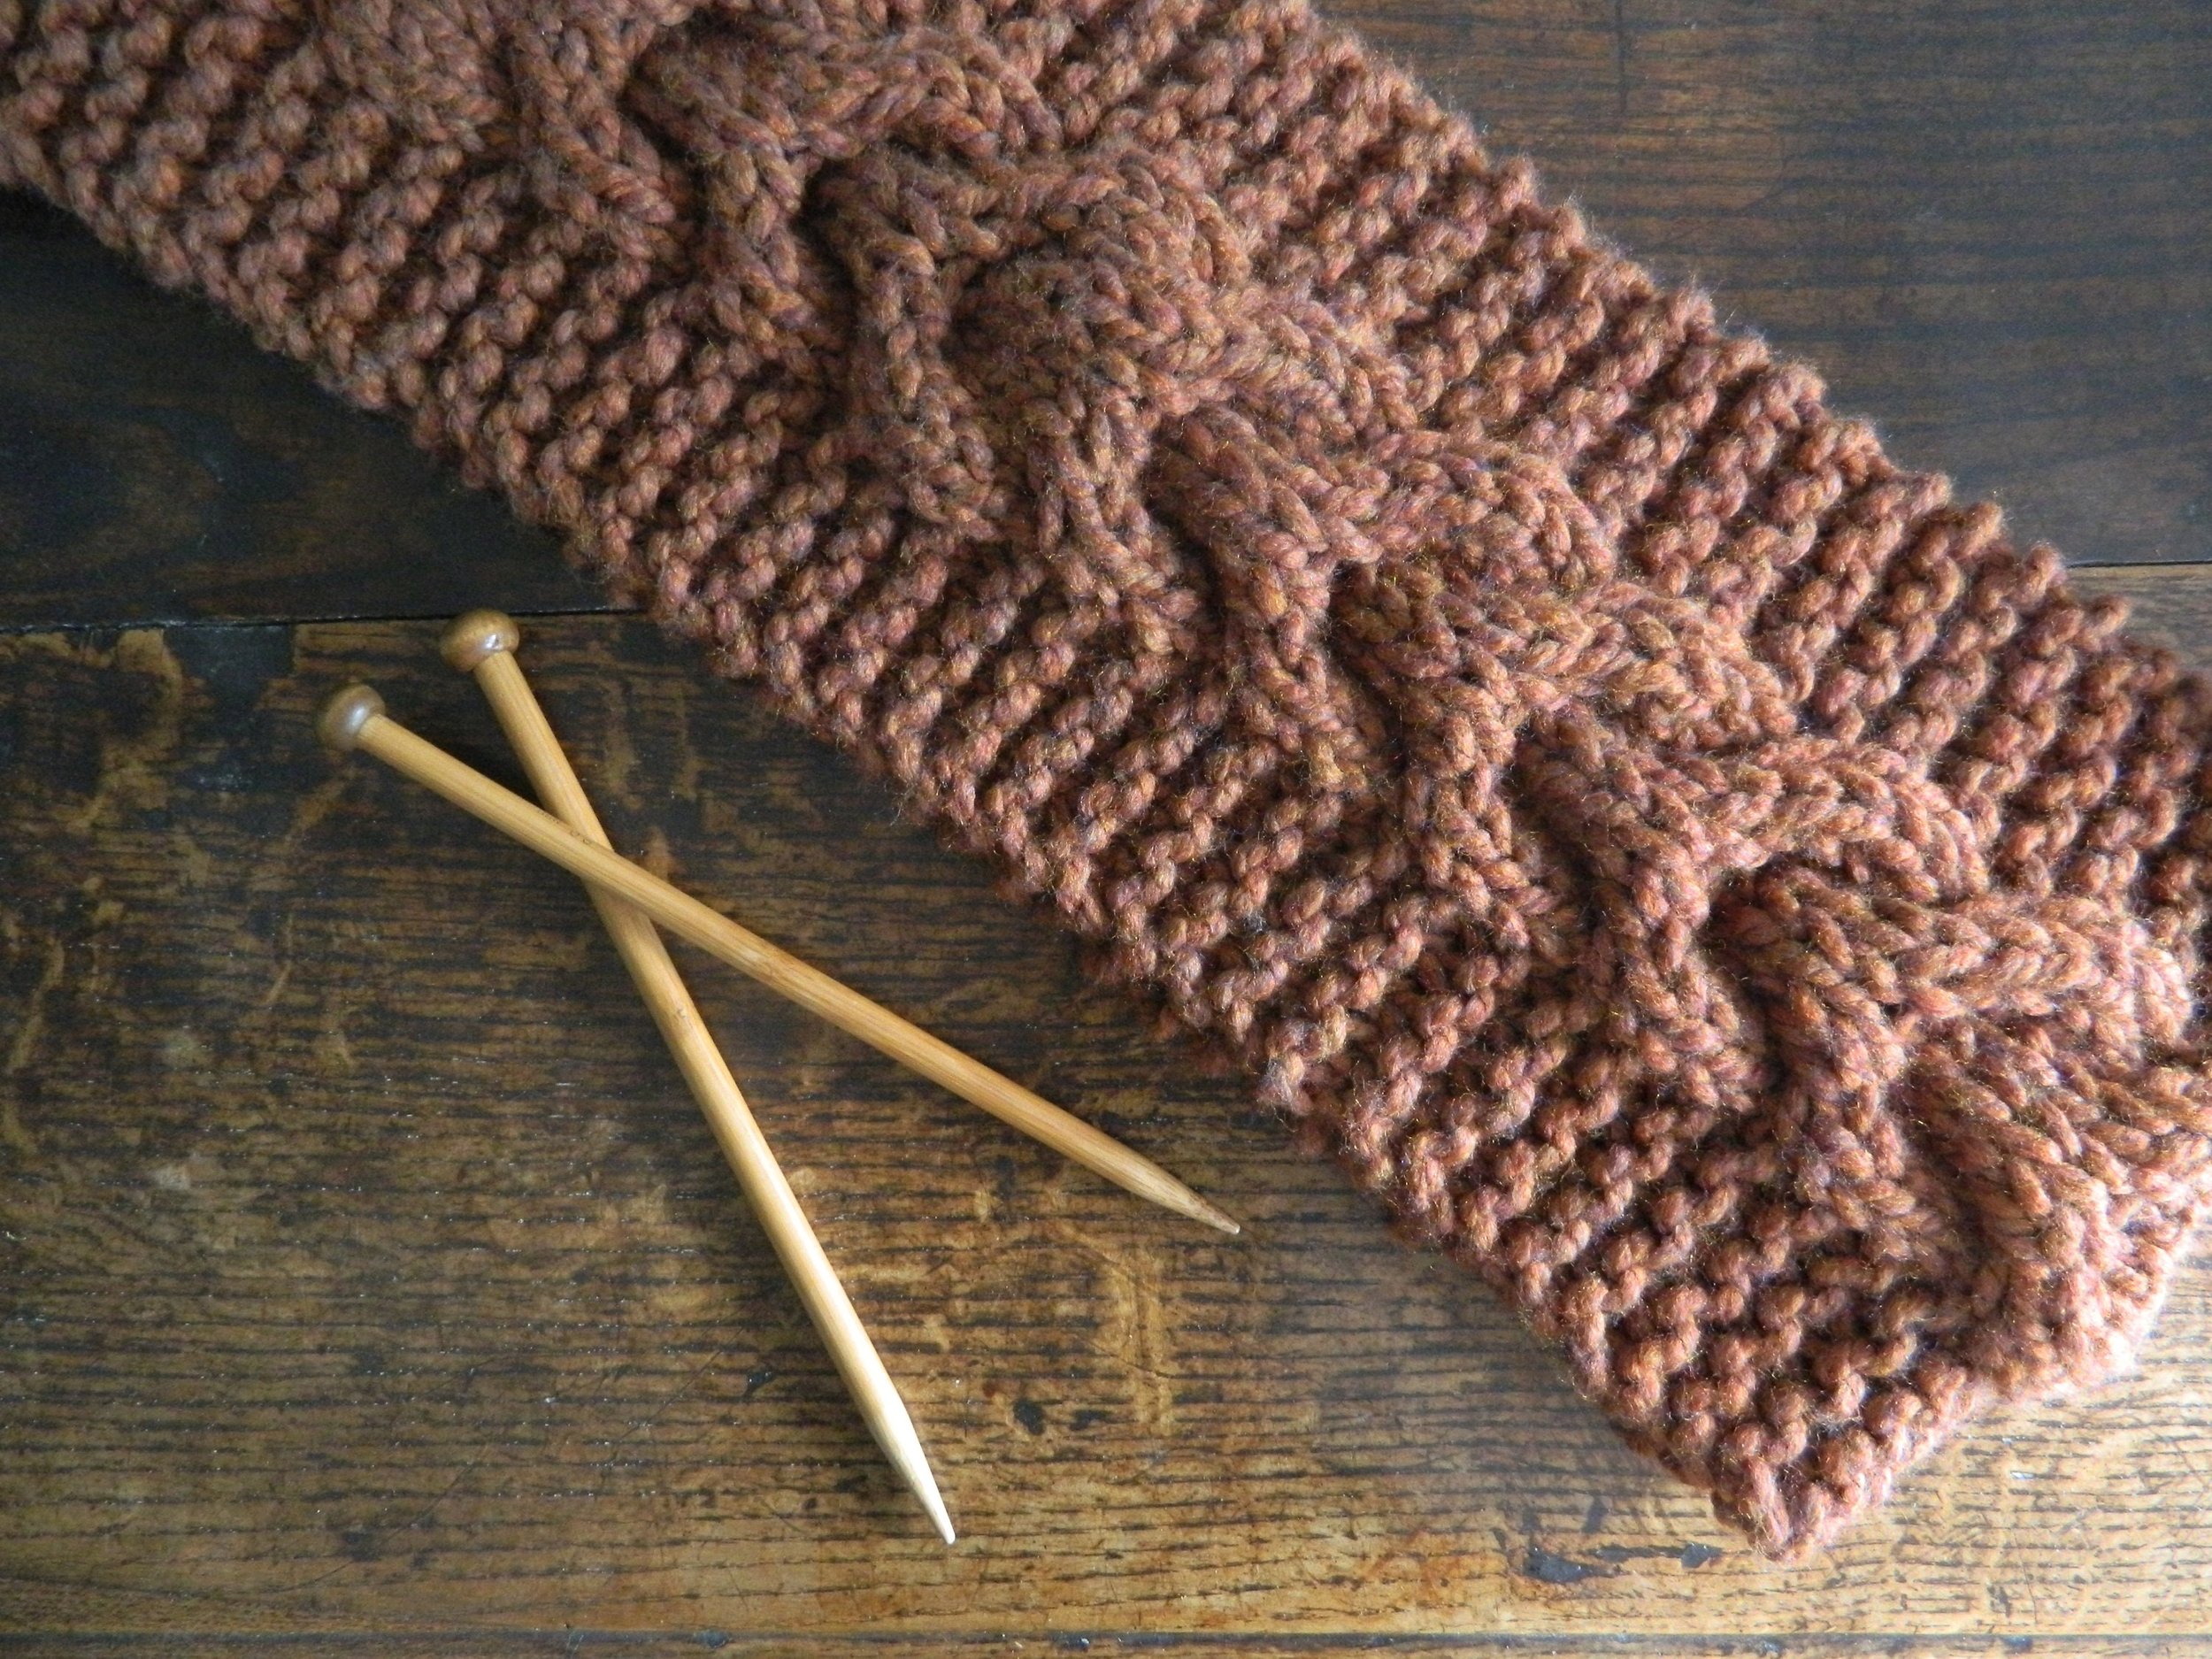
Plaited Cable
In this example, two cables are worked in an alternating pattern to create a plaited design with each strand of the plait weaving over and under each other. You can see that each cable pulls the cable in a different direction, one to the left and one to the right.
The rows of stocking stitch in between each cable row give the pattern space and adjusting these rows will give the cables more or less length and will adjust how tight the plait is.
Row 1: knit 3, C6F
Row 2 and all even rows: purl all stitches
Row 3 & 5: knit all stitches
Row 7: C6B, knit 3
Row 9 & 11: knit all stitches
Cable Patterns
Cables work well with any yarn and I have a few patterns that use a range of cable designs:
Super chunky trellis cable throw
Chunky horseshoe cable knit hat
Super chunky horseshoe cable scarf
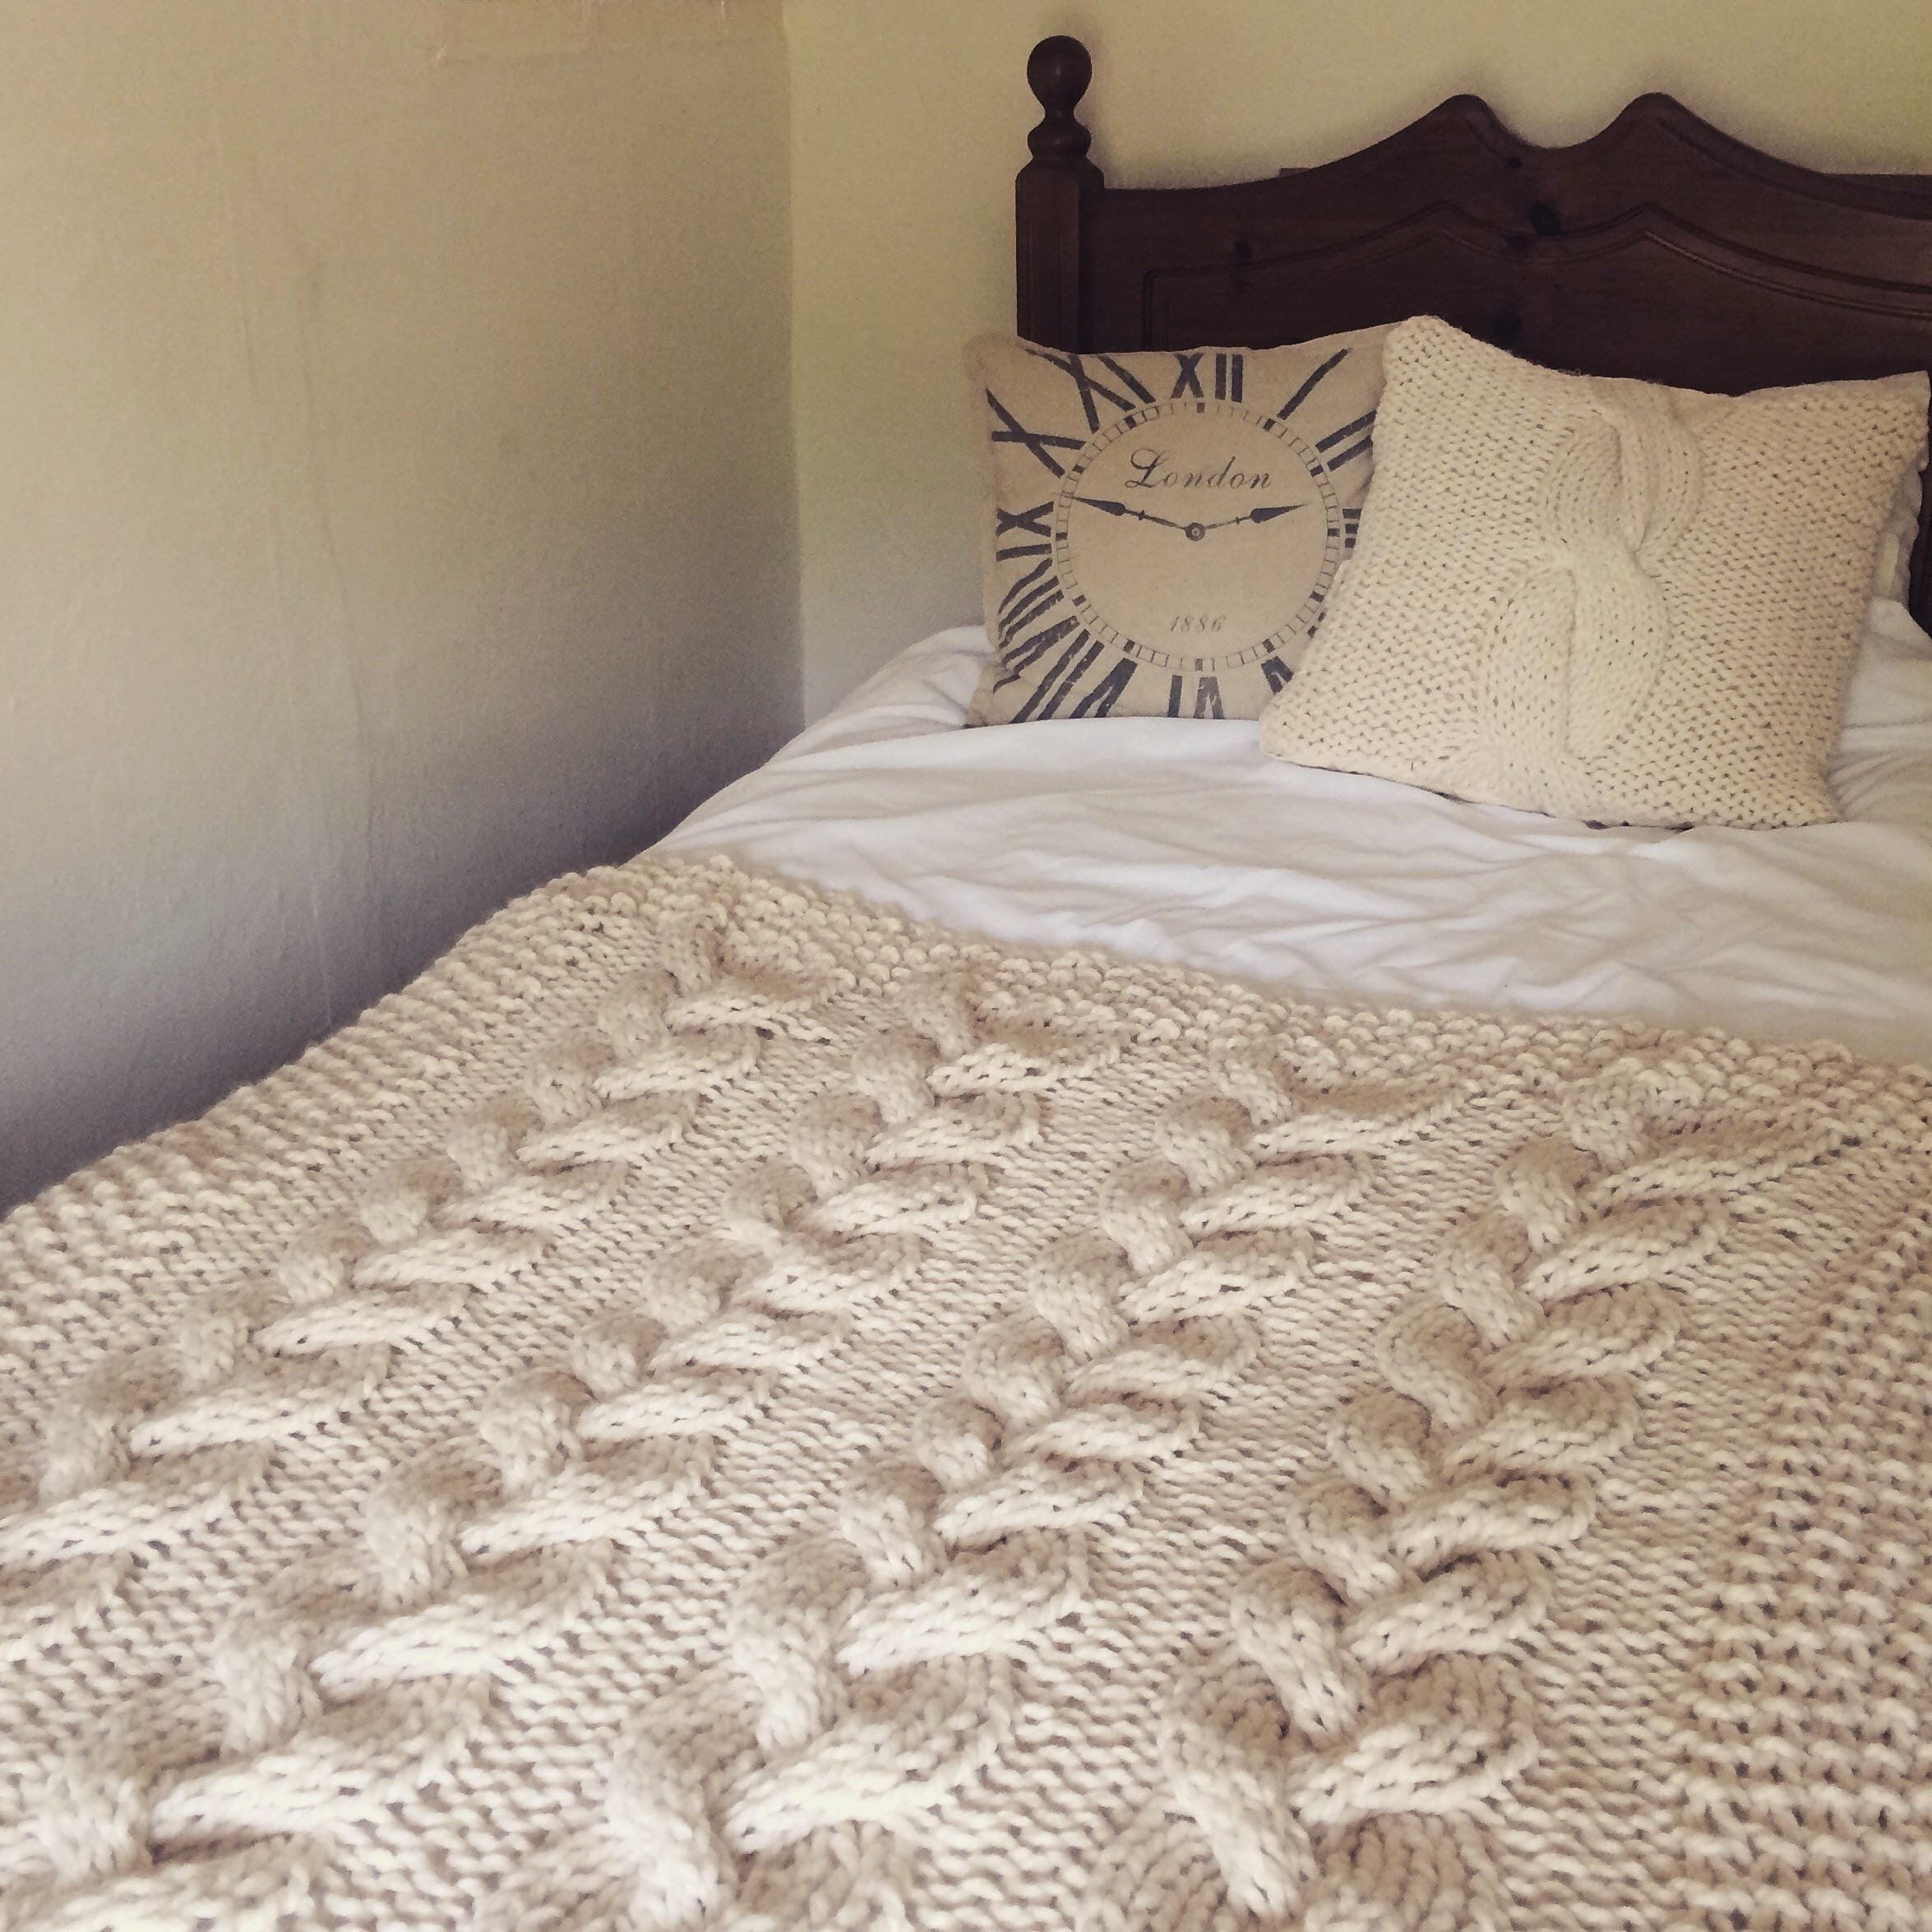
Super chunky cable knit throw
Aran twisted cable hat
Horseshoe Cable
In this example two cables are worked together in a repeating pattern to form a horseshoe pattern. Reversing the order of the cables will turn the horseshoe pattern upside down. The rows of stocking stitch between each cable row determines how tight the pattern is.
Row 1: C4B, C4F
Row 2 and all even rows: purl all stitches
Row 3 & 5: knit all stitches
Twisted Strands
Once you have created your strands you can combine these with a cable, in this example two cables are worked close together to create a twist.
Row 1: C4F
Row 2: purl all stitches
Row 3: C4F
Row 4: purl all stitches
Travelling strands
Working on a background of reverse stocking stitch cables can be used to create strands that travel across the piece.
Row 1: knit 2, purl to the end of the row
Row 2 and all even rows: knit all purl stitches and purl all knit stitches
Row 3: C3L, purl to the end of the row
Row 5: purl 1, C3L, purl to the end of the row
Row 7: purl 2, C3L, purl to the end of the row
Repeat this pattern as many times as required to form a diagonal strand moving to the left.
Row 1: purl to the last two stitches, knit 2
Row 2 and all even rows: knit all purl stitches and purl all knit stitches
Row 3: purl to the last three stitches, C3R
Row 5: purl to the last four stitches, C3R, purl to the end of the row
Row 7: purl to the last five stitches, C3R, purl to the end of the row
Repeat in this pattern as many times as required to form a diagonal strand moving to the right.


